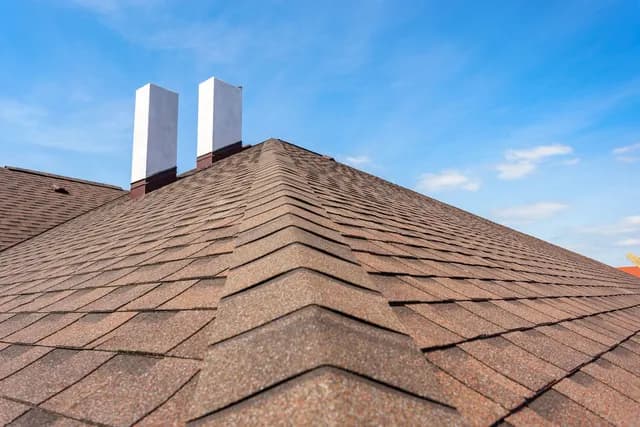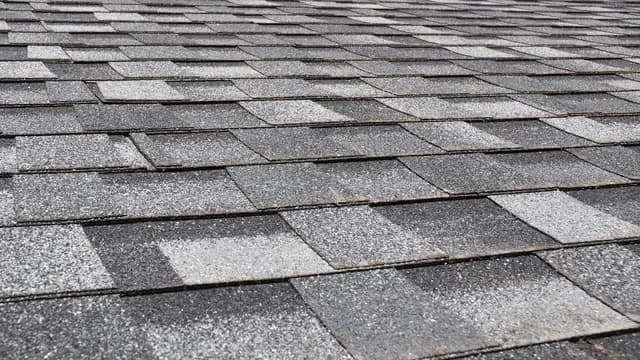
A strong hailstorm in Texas means one thing: roof damage. From loose granules to cracked mats, hail damage can happen in a matter of a few minutes. How much your insurance covers too often depends on how quickly you can act. If you don’t document it immediately, damage from hailstorms can become indistinguishable from normal wear and tear in a matter of a week.
We’re here to help you get the most out of your homeowners insurance policy. Read on for step-by-step instructions on filing a hail damage roof insurance claim, so you can ensure you’re covered.
Step 1: Document the Damage
Before doing anything else, the first step in filing a hail damage roof insurance claim is to document, document, document. If you don’t feel comfortable getting on your roof yourself, ask a licensed roofing contractor for help. Look for the following:
- Circular bruises or dents in asphalt shingles
- Missing or displaced granules
- Cracked or split shingles
- Dented gutters, downspouts, vents, or flashing
- Soft spots in shingles
- Broken shingles with exposed matting
Photograph everything from multiple angles. Include wide shots and closeups. Take videos. Be sure your photos are time stamped and note the date the storm occurred. The more evidence you have for your claim, and the sooner the evidence is collected, then better.
If you get the assistance of a roofing contractor, ask them to write a written assessment of your roof. This can add to the validity of your claim.
Step 2: Review Your Insurance Policy
Next, take a thorough look at your insurance policy to understand your coverage. On the homeowners insurance declaration page, look for the following:
- Coverage A (dwelling coverage): This is the amount your homeowners insurance is willing to pay to repair or rebuild your home’s physical structure, including your roof.
- Your wind and hail deductible: This is a deductible that you must pay out of pocket before your homeowners insurance kicks in.
Wind and hail deductibles are some of the most misunderstood parts of hail damage roof insurance claims. They’re calculated as a percentage of Coverage A, rather than a percentage of the cost of repair. For example, if your homeowners policy with a $200,000 dwelling coverage and a 2% wind and hail deductible, you’re responsible for the first $4,000 of the cost of repair.
This number can help you determine whether filing an insurance claim is even worthwhile. If your repair costs less than your deductible, it may be a fruitless task.
Step 3: File a Claim
Once you’ve documented the damage, reviewed your policy, and decided to pursue an insurance claim, it’s time to file. Contact your insurance company to open the claim, whether by phone or online. Make sure you have the following information handy:
- Policy number
- Date and time of the storm
- Description of the damage
- Photos and a written assessment from a roofing contractor, if available
Take detailed notes on your call. Be sure to note the claim number and the contact info for your insurance adjustor. Include the date of the call and the name of the person you’ve spoken with, as well as any information they’ve relayed. In the event that there’s a disagreement down the line, having this information will help.
Step 4: Wait up to 15 Days for a Response
According to Texas Insurance Code, insurance carriers must reply to a claim within 15 business days by doing the following:
- Acknowledging receipt of the claim in writing
- Beginning an investigation
- Requesting any relevant documentation or information from the homeowner
Once they’ve done so, they have another 15 days to determine whether the claim has been accepted or denied. If the claim is accepted, they have 5 days to issue payment. Stay on top of these deadlines. If they aren’t met, follow up to ensure your claim hasn’t stalled.
Keep in mind that, in the event of a large-scale disaster, these deadlines may be slightly longer.
Step 5: Meet with Your Insurance Adjuster
Your insurance company will likely send an adjuster to inspect your roof in person. If you can, be present for the inspection. Don’t hesitate to point out any specific areas of damage or walk the adjuster through your evidence. It may also be useful to have a roofing contractor on hand, too, to help.
After the inspection, your adjuster will generate a damage estimate. Review it carefully. If you find that it misrepresents or misses any damage, you have the right to ask questions, request a second inspection, or bring in an opinion from a licensed contractor.
Step 6: Receive Payment
For most hail damage roof insurance claims, your homeowners insurance policy will pay you in two separate checks:
- Your initial actual cash value payment: This is the cost of your roof repair, minus your deductible and depreciation for your roof’s age and condition.
- The recoverable depreciation payment: Once the work is completed, you can submit a final invoice. If your policy includes total replacement coverage, rather than just actual cash value, you’ll receive a second check for the depreciation withheld from the first.
If your first check is smaller than expected, don’t worry. The initial payment is just meant to get the work started, whereas the second payment will cover the rest. Be sure to keep every invoice, receipt, and piece of paperwork from your roofing contractor to ensure the second payment is accurate.
Step 7: Choose a Roofing Contractor to Complete the Work
Once your claim has been approved, it’s time to select a licensed, reputable roofing contractor to complete the replacement or repair. Get several estimates and do your due diligence to ensure your contractor is properly licensed and ensured before signing an agreement.
Keep an eye out for the following red flags:
- Pressure for an immediate signature
- Request for full payment upfront
- Offer to waive the deductible (this is illegal in Texas)
Once the work is complete, submit your final invoice and documentation to your insurance company to get your second payment.
Step 8: Keep Records
Hold on to a copy of everything after your claim is closed: original photos, adjuster’s estimate, correspondence, invoices, and more. Roofing and insurance records are useful to have on hand if a warranty issue comes up, damage from the same storm surfaces down the line, or if you plan to sell your home in the coming years.
Trust Results Roofing for Reputable Hail Damage Repairs
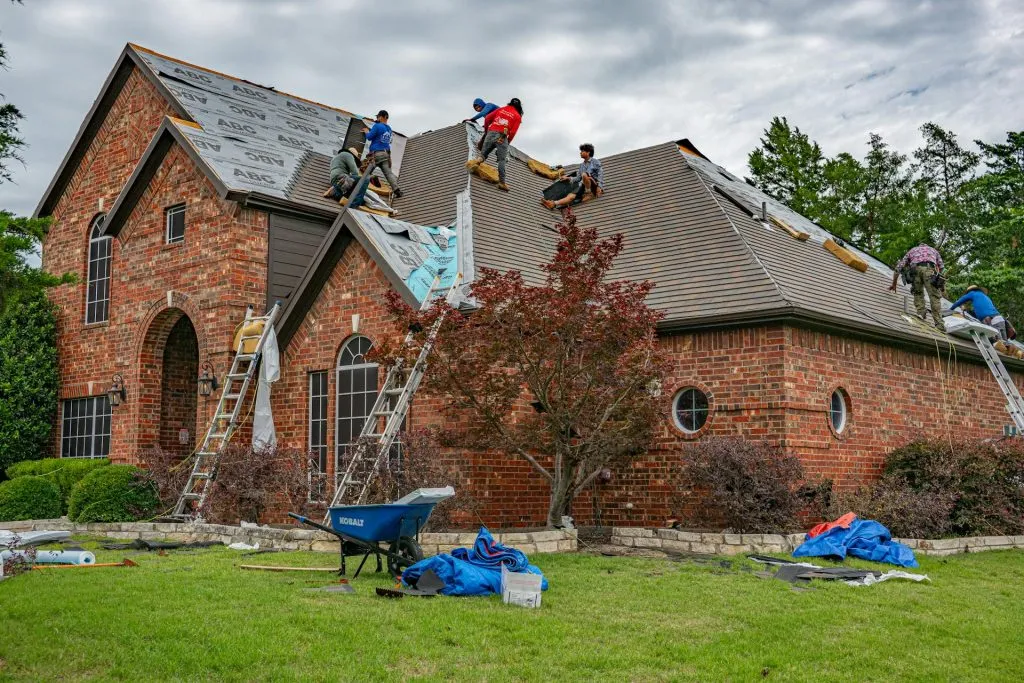
Filing a hail damage roof insurance claim in Texas involves many moving parts, and each is on their own deadline. From initial documentation to insurance correspondence and payment, it’s important to be on top of things and move as quickly as possible.
For the best results, choose a roofing contractor that’s well versed in Texas hail claims, like Results Roofing. We understand how claims are evaluated and can produce documentation that supports your claim and makes the process more manageable. Plus, we work with you throughout the entire process, from initial damage inspection through the final invoice. Get started with your free quote today.